How to Clean Weekly Mopping for a Fresher Home
Weekly mopping is one of the easiest ways to keep your home fresh, bright, and healthy. This guide shows you how to clean weekly mopping the right way, from choosing the best tools to avoiding common mistakes that leave floors dull or sticky.
Key Takeaways
- Use the right tools: A clean mop, warm water, and a safe floor cleaner make weekly mopping more effective.
- Dust first: Sweep or vacuum before you mop so dirt does not turn into muddy streaks.
- Work in sections: Small areas help you clean more evenly and stop floors from staying too wet.
- Match the cleaner to the floor: Wood, tile, laminate, and vinyl all need different care.
- Rinse and dry well: Clean water and fast drying help prevent residue, streaks, and odors.
- Fix problems early: Sticky spots, dull floors, and bad smells usually come from too much soap or a dirty mop.
- Stay consistent: A simple weekly mopping routine keeps floors cleaner and makes deep cleaning easier.
How to Clean Weekly Mopping for a Fresher Home
Weekly mopping can make a big difference in how your home looks and feels. Clean floors make rooms seem brighter, fresher, and more cared for. They also help remove dust, crumbs, pet hair, and sticky spots before they build up.
If you have ever wondered how to clean weekly mopping the right way, this guide will walk you through each step. You will learn how to prepare your floors, choose the right cleaner, mop without streaks, and avoid common mistakes. With a simple routine, weekly mopping can become fast, easy, and effective.
This guide is for busy homes, family spaces, and anyone who wants cleaner floors with less effort. Whether you clean tile, vinyl, laminate, or sealed wood, the same basic ideas apply. The goal is to clean well, protect your floors, and keep your home smelling fresh.
Why Weekly Mopping Matters
Weekly mopping does more than make floors shine. It helps remove the fine dirt that sweeping alone can miss. That dirt can scratch surfaces over time, especially on wood and laminate. It can also make floors feel gritty underfoot.
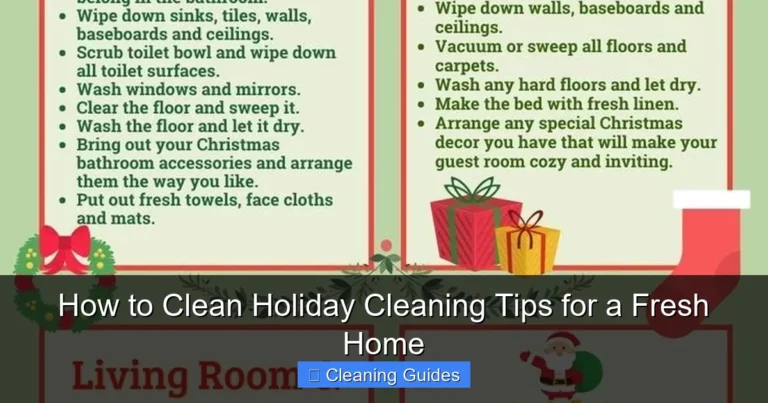
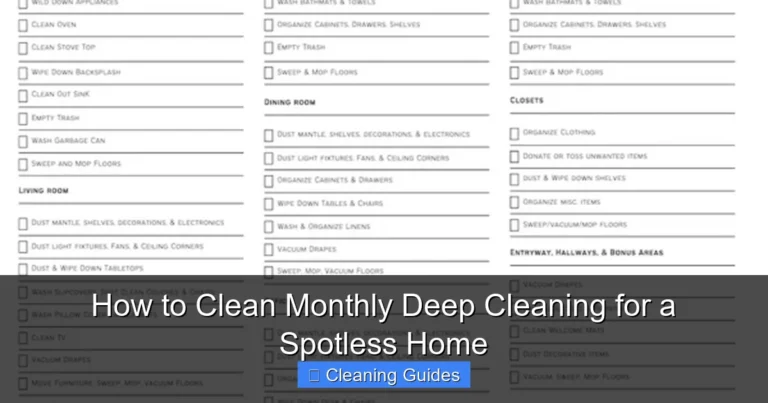
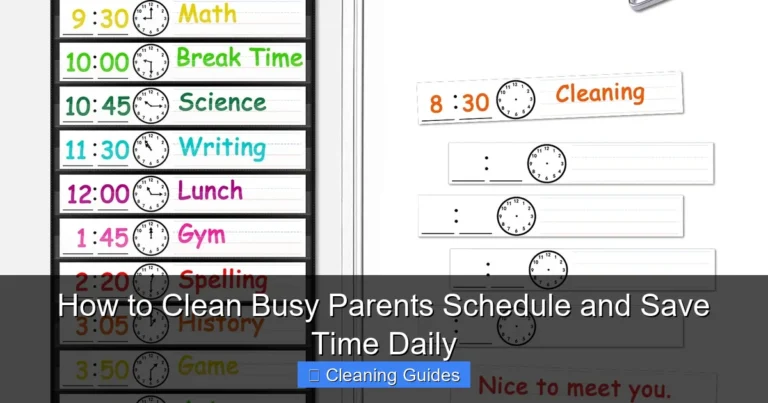
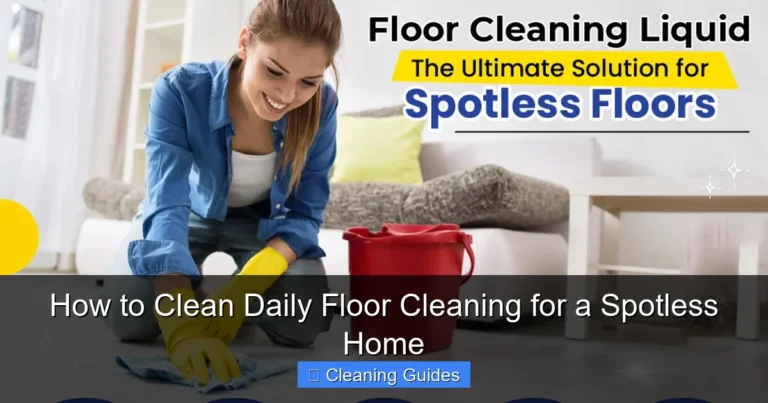
Visual guide about How to Clean Weekly Mopping for a Fresher Home
Image source: micronclean.com
In homes with kids or pets, weekly mopping is even more useful. Food spills, muddy shoes, and paw prints can add up fast. A regular routine keeps messes from settling in and makes the whole home feel cleaner.
Many people ask how to clean weekly mopping in a way that saves time. The answer is simple: use a steady routine, avoid too much water, and clean the mop itself. When you do those things, the job gets easier every week.
What You Need Before You Start
Good results start with the right tools. You do not need anything fancy. A simple setup is often best.
Basic supplies
- A broom, dust mop, or vacuum
- A mop with a clean head
- A bucket or spray mop system
- Warm water
- A floor cleaner made for your floor type
- Microfiber cloths or towels
Optional helpful items
- A scrub brush for stuck-on spots
- Rubber gloves
- A second bucket for rinse water
- Fans to help floors dry faster
If you want to make weekly mopping easier, keep your tools in one place. That way, you can grab them quickly on cleaning day. A small cleaning caddy can save time and help you stay consistent.
Step 1: Clear and Prep the Floor
Before you mop, remove anything that could block your path. Pick up toys, shoes, pet bowls, and loose rugs. This gives you a clear space to work and helps you reach every corner.
Remove loose dirt first
Sweep, dust mop, or vacuum the floor before adding water. This is one of the most important parts of how to clean weekly mopping well. If you skip this step, dirt can smear across the floor and leave streaks.
Check for sticky spots
Look for dried spills, food bits, or muddy marks. Spot-clean these areas before you mop the whole floor. A damp cloth or a small amount of cleaner can help loosen the mess.
If you have little ones at home, floor prep matters even more. Smooth, clean floors are safer for crawling and early steps. If you are also thinking about safer home surfaces for little walkers, you may find this guide on non-slip socks for babies learning to walk helpful for reducing slips on hard floors.
Step 2: Choose the Right Cleaner
Not every cleaner works on every floor. The wrong product can leave residue, dull the finish, or even damage the surface. Always check your floor type first.
For tile and sealed stone
Use a cleaner made for hard floors. These floors can handle more moisture, but they still should not be soaked. A mild cleaner is usually enough for weekly mopping.
For laminate and vinyl
Use a low-moisture cleaner. These floors do not like excess water. Too much water can seep into seams and cause damage over time.
For sealed wood
Use a wood-safe cleaner only. Keep the mop damp, not wet. Wood floors need gentle care to stay in good shape.
If your home has different floor types, it may help to use separate cleaning solutions or follow the label directions closely. A little care here can prevent big problems later. Weekly mopping should clean the floor, not wear it down.
Step 3: Mix the Solution the Right Way
One common mistake in weekly mopping is using too much cleaner. More soap does not mean cleaner floors. It often means sticky floors and cloudy residue.
Follow the label
Read the cleaner instructions and use the exact amount listed. If the label says to dilute it, measure carefully. This keeps the solution effective and safe.
Use warm water
Warm water helps loosen light dirt and grime. It is a simple way to improve your weekly mopping routine without extra effort. Avoid very hot water on delicate floors.
Keep the bucket clean
If you use a bucket, empty it when the water gets dirty. Dirty water just spreads grime around. Fresh water helps your floor look cleaner and smell better.
Step 4: Mop in Small Sections
Working in sections makes the job easier and helps you stay organized. It also keeps you from stepping on wet floors too soon.
Start at the farthest corner
Begin in the corner farthest from the door. Mop your way backward so you do not trap yourself in a wet room. This is a simple trick, but it makes weekly mopping much smoother.
Use gentle strokes
Move the mop in a figure-eight or back-and-forth motion. Do not press too hard. Let the mop do the work. Gentle strokes help lift dirt without pushing it around.
Rinse often
If your mop head gets dirty, rinse it before continuing. A dirty mop spreads grime and can leave streaks. Clean water and a clean mop head are key parts of how to clean weekly mopping well.
For homes with active children, floors can get dirty fast. If you have toddlers who are always moving, clean floors can be part of a safer play area. For more tips on keeping growing children steady on hard surfaces, see this article on shoes for baby learning to walk.
Step 5: Do Not Soak the Floor
Too much water is one of the biggest mopping mistakes. Floors that stay wet too long can develop streaks, warping, or a dull finish. This is especially true for wood, laminate, and vinyl.
Wring the mop well
Your mop should feel damp, not dripping. If you can squeeze water out easily, it is too wet. Wring it out more before touching the floor.
Use less water in humid rooms
Bathrooms, kitchens, and laundry rooms may need extra care because they already hold more moisture. In these spaces, use smaller amounts of water and dry the floor faster after mopping.
Dry as you go
If needed, use a dry microfiber cloth or towel to wipe up extra moisture. This helps prevent slips and keeps the floor looking polished. Fast drying is one of the easiest ways to improve weekly mopping results.
Step 6: Tackle Stubborn Spots
Some messes need more than a quick mop. Sticky juice, dried sauce, and tracked-in mud may need a little extra attention.
Spot-clean before mopping
Apply a small amount of cleaner to the problem area. Let it sit for a minute if the label allows it. Then wipe with a cloth or soft brush.
Avoid harsh scrubbing on delicate floors
Strong scrubbing can scratch surfaces. Use gentle pressure and a soft tool. If a spot does not lift, repeat the process instead of forcing it.
Test new products first
If you are trying a new cleaner, test it in a hidden spot. This helps you make sure it will not damage the finish or leave a mark.
Step 7: Rinse or Change Water as Needed
Clean water matters more than many people think. As you mop, the bucket can fill with dirt, grease, and residue. Once that happens, you are no longer cleaning the floor well.
Change the water when it looks cloudy
If the water turns gray or dirty, dump it and refill the bucket. This simple step can make a huge difference in the final result.
Use a second bucket if helpful
One bucket can hold clean solution, while the other can be used for rinsing. This setup keeps dirt from going back onto the floor. It is a smart choice for larger homes or messier spaces.
Step 8: Let the Floor Dry Properly
Drying is part of cleaning. If the floor stays wet, it can collect dust again or become slippery. Good drying habits help your weekly mopping last longer.
Open windows if possible
Fresh air can help floors dry faster. Even a small breeze can make a difference.
Use fans for speed
A fan can help move air across the floor and shorten drying time. This is especially useful in closed rooms or cool weather.
Keep people and pets off the floor
Wait until the floor is fully dry before walking on it. This prevents footprints and reduces the chance of slipping. It also helps protect the finish on sensitive floors.
How to Clean Your Mop After Weekly Mopping
A clean mop is just as important as a clean floor. If the mop head stays dirty, it can smell bad and spread grime next time you use it.
Rinse it well
Rinse the mop head under warm water until the water runs clear. This removes dirt and leftover cleaner.
Wash according to the material
Microfiber mop heads can often be machine washed. Cotton heads may need a different care method. Always check the label or product instructions.
Let it dry fully
Never store a wet mop in a closed space. Let it air-dry in a well-ventilated spot. This helps prevent mildew and odors.
If you are trying to build better home habits overall, good sleep and a clean space often go hand in hand. A calmer home routine can support better rest, which is why some families also like reading about ways to boost your sleep quality tonight.
Common Weekly Mopping Mistakes to Avoid
Even a simple job can go wrong if you rush it. Here are a few mistakes that often lead to poor results.
Using too much cleaner
Too much soap leaves a film on the floor. That film can attract dust and make the surface feel sticky.
Skipping the sweep
Mopping dirt around does not clean it. It just spreads it out.
Using dirty water
Dirty water makes floors look worse, not better. Change it often.
Leaving the floor too wet
Excess water can damage floors and cause slips.
Ignoring the mop head
A dirty mop cannot clean well. Wash or replace it as needed.
Troubleshooting: If Your Floors Still Look Dirty
Sometimes floors still look dull after weekly mopping. That does not always mean you did something wrong. It may mean you need to adjust your method.
Problem: Streaks on the floor
Streaks often come from too much cleaner or a dirty mop. Try using less product and rinsing the mop more often.
Problem: Sticky feeling
This usually means soap residue is left behind. Mop again with plain water or a very light solution, then dry the floor well.
Problem: Dull finish
A dull finish can happen when residue builds up over time. Use the right cleaner for your floor type and avoid over-soaping.
Problem: Bad smell after mopping
A smelly mop head or dirty bucket is often the cause. Clean both well and let them dry fully before storage.
Problem: Water marks on wood or laminate
Too much moisture is usually the issue. Use a damp mop only and dry the floor right away.
Simple Weekly Mopping Schedule
A routine makes cleaning easier to keep up with. You do not need to deep clean every week. You just need a simple plan.
- Before mopping: Pick up clutter, sweep, or vacuum.
- During mopping: Work in small sections and use a damp mop.
- After mopping: Dry the floor and rinse the mop.
- Once a week: Check for sticky spots, corners, and high-traffic areas.
This routine keeps weekly mopping quick and manageable. It also helps stop dirt from building up, which means less work later.
Conclusion
Learning how to clean weekly mopping the right way is not hard. The secret is to keep it simple. Sweep first, use the right cleaner, mop in small sections, and avoid too much water. Then dry the floor well and clean your mop when you are done.
When you follow these steps, weekly mopping becomes faster and more effective. Your floors will look cleaner, feel fresher, and stay in better shape over time. Best of all, your whole home will feel more inviting with very little extra effort.
🎥 Related Video: Mopping tips!! #trending #clean #cleaning #youtubeshorts #cleaningservice #mopping #hacks
📺 Vanesa Amaro

- 9 Best Bassinet vs Crib Picks for 2026 – Expert Reviewed - May 24, 2026
- 10 Best Bedside Sleepers for 2026: Expert-Tested & Top Rated - May 23, 2026
- 9 Best Bedside Bassinet for Newborn in 2026 – Expert Tested - May 23, 2026